

Handstand Push up Progressions: getting to your first
That ancient adage of the circus ring which exorted the acrobats and gymnasts to “ Use the arms as legs and they will become as strong as legs' has been confirmed by a large number of modern muscle men and “lifters” who owe a great deal of their development to non-apparatus work of this kind. (p 2 Health and Strength Annual
Context
Working out and moving are essential for our health and I believe that health coming from natural means such as these should take our primary focus before any other measures. But, we only have so much time during the day. Therefore, it’s imperative that we get more out of our sessions despite the limited time we devote to them each day. This is why I value progressive calisthenics, instead of doing endless reps you increase the difficulty of the movement, getting more out of the workout in the same amount of time.

Overhead pressing is something that grabs the attention. Whether it's a heavy barbell or your own weight. It's difficult and tells the world that you have overcome gravity. Getting to your first handstand push-up does not have to be difficult, time-consuming, or energy-consuming.
Defining My Terms:
Handstand Push ups: Wall Assisted
I’m primarily a wall-assisted handstand push-up type of guy. Handbalancing would be nice and I have devoted some time to it here and there. But the more goals you establish for yourself the more time it will take you to reach them all. Plus, I’m more of an efficiency/power of my muscle contractions and tendon strength kind of guy.


Additionally, I explore both orientations of handstand push ups. Having started my progressive calisthenics journey with my back to the wall during a handstand push up, I stick with this orientation the most during more difficult variations. Sometimes this method is critiqued for the fact that your back might round during the press. Honestly, my back can curve either way it's all above having proper control. This position is also easier to pop into and out of as well.
There is the alternative of having your chest to the wall which is more difficult than the back to wall. The forward lean will call more upon the front of your shoulders. The drawbacks with this position I believe are the set and drop-out. Here you have to walk your hands back and your feet up the wall which will take energy away from your set based on how slowly you do this. Also, I’ve found this position to be difficult as if you have socks your toes(or toe knuckles) will be the main point of contact with the wall whereas in the other position, your sturdy heels take the brunt of the sliding. It’s about the placement of your foot for me.

It’s up to you. But honestly…

Plus, on some of the handstand push up regressions, you’ll need to be in a modified position of the latter anyways. If you’re doing some kind of drop set workout start off with handstand push-ups back-to-wall and then transition to pike push-ups.
But What place does overheard strength play in our fitness?
The shoulders are an important part of your upper body. Like the hips for your lower body, they are the link that helps you to generate force with your limbs. The stronger they are both in power and joint integrity the better off you’ll be. Regular push-ups can provide some benefit to the front of the shoulders and pull-ups will help with the back. But, overhead pressing, will provide you with the quickest way to hit the most angles with the shoulder effectively.
With my experience at a military college, in the military, and as a personal trainer the number of shoulder injuries are out of this world.

With some regressions of handstand push ups, you’ll be able to take your shoulders through a full range of motion. As I’ve covered with overcoming isometrics the stretched position under stress will provide the stimulus for the adaption of your connective tissues. In other words, it will bulletproof your shoulders.
Running the gambit of overheard pressing movements, with overcoming isometric exercises, in a progressive manner will provide you with some insurance and a pretty strong foundation.
Strength Approach
If your goal is gaining strength as quickly as possible with little fatigue then I suggest a micro-workout schedule. You will engage in overhead press training just a little bit each day. The aim is not to exhaust yourself but stimulate/nourish your muscles and joints. If you’re shaking on one of your reps trying to get the last bit of that range of motion you have gone too far. Keep it fresh. If your progress remains steady maintain whatever frequency you are doing. Twice a day/10x a week, once a day 5x a week, twice every other day 6-8x a week, etc. If you are progressing that’s a good sign that you have the right tempo. If not draw it back a little.
Once you start reaching double digits with the reps you can perform (comfortably), start pairing it with an overcoming isometric for a few weeks before moving on to the next difficulty.
When you pair it start by performing the actual movement followed by one eight-second contraction at different joint angles. This way you can concentrate on coordination and strength and then transition to nourishing your strength further with overcoming isometrics.
Exercise Library
Shoulder Pressing w Towel or Ring
What somebody can use at any stage, especially in the beginning. Generating force at three different joint angles(Low Middle, & High) You can use some type of non-stretch strap with a ring or handle attached to it, or a towel where the other hand is holding in place behind your back.


If using a towel be mindful of the hand position as the wrong one will turn this into more of a tricep extension exercise. Rotate forward.


Pike Push-ups


Bending the hips at a 90-degree angle and keeping your toes and palms in contact with the ground lower yourself till the top of your head touches the deck. Your head should come just forward of your hands. Then return to the original position.
Once you start reaching double digits with the reps you can perform (comfortably), start pairing it with an overcoming isometric for a few weeks before moving on to the next level.

Narrow Pike Push-Ups


In this version, you place your hands together as in a diamond. This will give you a little more stretch/stimulus for your triceps.
Feet Elevated Pike Push-Ups


Place your feet on something a little bit elevated. You don’t have to do what I did here. It can be something small like a box of Topo Chico. In the same manner, lower yourself while bending a little forward till your head touches the ground just above the line of your hands and return.
Enhanced Pike Push-Ups
With these not only should your feet be elevated but you will have a more complete range of motion. What you use it up to you. The stairs in my crib are really good for this but if you have a box and a huge curb this can be used as well.


If you eventually get to the wall handstand push-up I still advise using these from time to time as the full range of motion will help you to transition a bit easier into variations beyond wall variations.
Handstand Push Ups


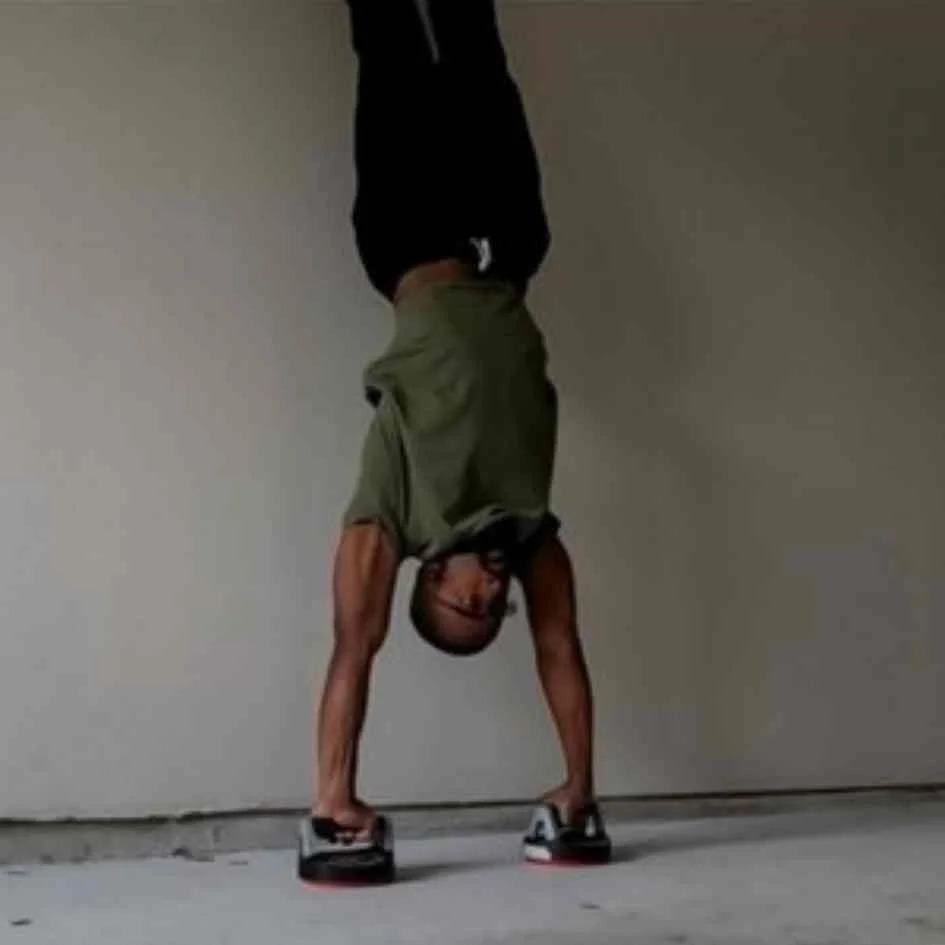
Placing your hands from seven to 12 inches from the wall kick up into the position. Lower yourself down till your head lightly touches the ground then press back up. Keep the elbows forward and not out to the sides as this will aggravate your shoulders.
And with the other orientation, you are walking backward up the wall until you are in a position similar to the pike push-up. Lower yourself to the ground till your hand is just beyond your hands then back up.
Diamond Handstand Push Up


Same as the above only you’re placing your hands together as in a diamond.
Full Handstand Push Up

Haven’t gotten here yet but I am on my way there.


Thank you for making it to the end and if you have any questions feel free to ask.
Until Next Time
